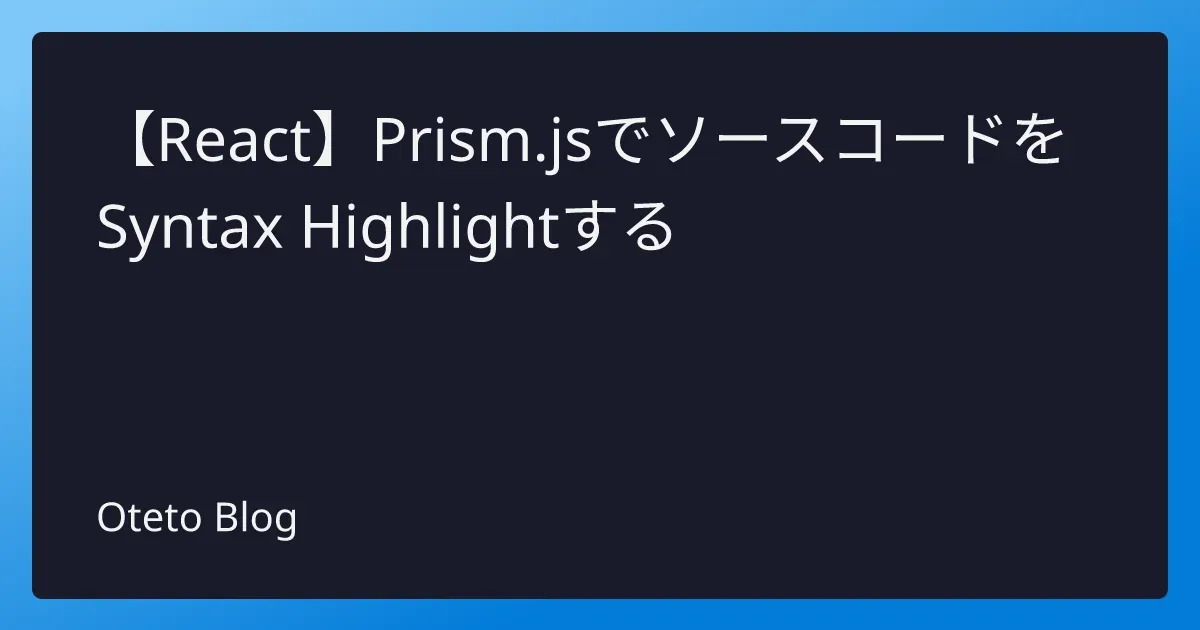
【Next.js】satoriを使ってJSXからOGP画像を動的に生成する
やりたいこと
SNSなどで共有された時にアイキャッチとして表示されることから、一種のSEO対策とも言えるOGP(Open Graph Protcol)画像。
QiitaやZennのようなサービスだとそのOGP画像が動的に生成されるが、当サイト(Next.js製のSPA)でもそれを実現したい。
実装方法
Metadata Files APIの場合
Next.js 13.3から追加されたMetadata Files APIを利用すれば、任意のルート下にjsxファイルを作成しそこでImageResponseを返すだけで、わざわざ画像へのパスを指定することもなく実現できる。
1. ファイルの作成
app├── blog│ ├── [slug].tsx ├── page.tsx ├── opengraph-image.tsxまずopengraph-image.tsxを作成し、OGP画像を設定したいルート下に配置する。
2. 画像の生成
import { ImageResponse } from "next/server";
export const runtime = "edge";export const size = {  width: 1200,  height: 630,};export const contentType = "image/png";
type Params = {  params: { slug: string };};
export default function Image({ params: { slug } }: Params) {  const article = getArticleBySlug(slug);
return new ImageResponse( ( <div style={{ height: "100%", width: "100%", display: "flex", backgroundImage: "linear-gradient(135deg, #7dc7f8 10%, #027cd9 100%)", color: "#f3f3f3", justifyContent: "center", alignItems: "center", padding: "0 2rem", }} > <div style={{ display: "flex", flexDirection: "column", padding: "3rem 4rem 2.5rem", backgroundColor: "#181b29", justifyContent: "space-between", borderRadius: "10px", width: "100%", height: "90%", }} > <p style={{ fontSize: 60, fontWeight: 700 }}>{article.title}</p> </div> </div> ), { ...size } );}あとは公式サイトの方法に沿って任意の画像をjsx記法で実装し、ImageResponseを返すだけ。
ImageResponseでの画像生成は内部でsatoriを使用しているため、指定できるスタイルはsatoriのドキュメントから確認できる。
3. metaタグが出力される
<meta property="og:image:type" content="image/png" /><meta property="og:image" content="http://localhost:3001/opengraph-image?623e08608f24ec4c"/><meta property="og:image:width" content="1200" /><meta property="og:image:height" content="630" />すると自動的にOGPのためのmetaタグが出力される。

実際にhttp://localhost:3001/opengraph-image?xxxにアクセスしてみると、記事タイトルが埋め込まれた画像が返されることを確認。
これで/blog/[slug]に全て動的なOGP画像が設定された。
build前に生成する場合
OGP画像用のルートを用意するのではなく、画像として事前に生成したい場合。この方法だとGitで管理できるというメリットがある。
今回はbuild(static export)時に全記事のOGP画像を生成し/public/img/<特定の記事ディレクトリ>下に配置する、という場合を想定して実装してみる。
1. satoriをインストール
npm i satorinpm i sharpHTML・CSSからSVGを生成できるvercel製のライブラリsatoriとそれをPNGに変換するためのsharpをインストールする。
2. 画像を生成し書き出す
import satori from "satori";import sharp from "sharp";import fs from "fs";
export const writeOgpImage = async (articleTitle: string, path: string) => {  // ディレクトリが存在しなければ作成する  if (!fs.existsSync(path)) fs.mkdirSync(path);
  const image = await generateOgpImage(articleTitle);  fs.writeFileSync(`${path}/ogp.png`, image);};
const generateOgpImage = async (title: string) => {  const fontMedium = fs.readFileSync("public/font/NotoSansJP-Regular.ttf");  const fontBold = fs.readFileSync("public/font/NotoSansJP-Bold.ttf");
  const svg = await satori(    <div      style={{        height: "100%",        width: "100%",        display: "flex",        backgroundImage: "linear-gradient(135deg, #7dc7f8 10%, #027cd9 100%)",        color: "#f3f3f3",        justifyContent: "center",        alignItems: "center",        padding: "0 2rem",      }}    >      <div        style={{          display: "flex",          flexDirection: "column",          padding: "3rem 4rem 2.5rem",          backgroundColor: "#181b29",          justifyContent: "space-between",          borderRadius: "10px",          width: "100%",          height: "90%",        }}      >        <p style={{ fontSize: 60, fontWeight: 700 }}>{title}</p>
        <div style={{ display: "flex", alignItems: "center" }}>          <img            src="ここに画像の絶対URL"            alt=""            width={110}            height={110}            style={{              padding: "1rem",              border: "1px solid #333545",              borderRadius: "100%",            }}          />        </div>      </div>    </div>,    {      width: 1200,      height: 630,      fonts: [        {          name: "Noto Sans JP",          data: fontMedium,          style: "normal",          weight: 500,        },        {          name: "Noto Sans JP",          data: fontBold,          style: "normal",          weight: 700,        },      ],    }  );
  return await sharp(Buffer.from(svg)).png().toBuffer();};
今回は任意のフォントや画像を使用してみる。
- jsx記法で画像の要素を指定し、SVG画像を生成
readFileSyncで任意のフォントを読み込み適用する
sharpでPNGに変換- 指定したパスに画像を書き出す
3. 全記事の画像を生成
先ほど実装したOGP画像生成を記事の数だけ行う必要がある。
export const generateStaticParams = async (): Promise<Params[]> => {  const allArticles = getArticles();
  // OGP画像生成  for (const article of allArticles) {    await writeOgpImage(article.title, article.path);  }
return allArticles.map((article) => ({ category: article.category, slug: article.slug, }));};そこで当サイトの場合はgenerateStaticParamsの中で全記事のルートを生成するついでに画像を生成するようにした。

すると/public/img/<特定の記事ディレクトリ>下に無事画像が生成された 🎉